A guide to car graphics
Car exteriors play a major part in how our cars look. The paint, accessories, and graphics on them can affect how the car will look. Car wraps, decals, and stickers are a form of exterior graphics that can be used to advertise or spruce up the look of a car.
What is a vehicle wrap?
Car exterior graphics
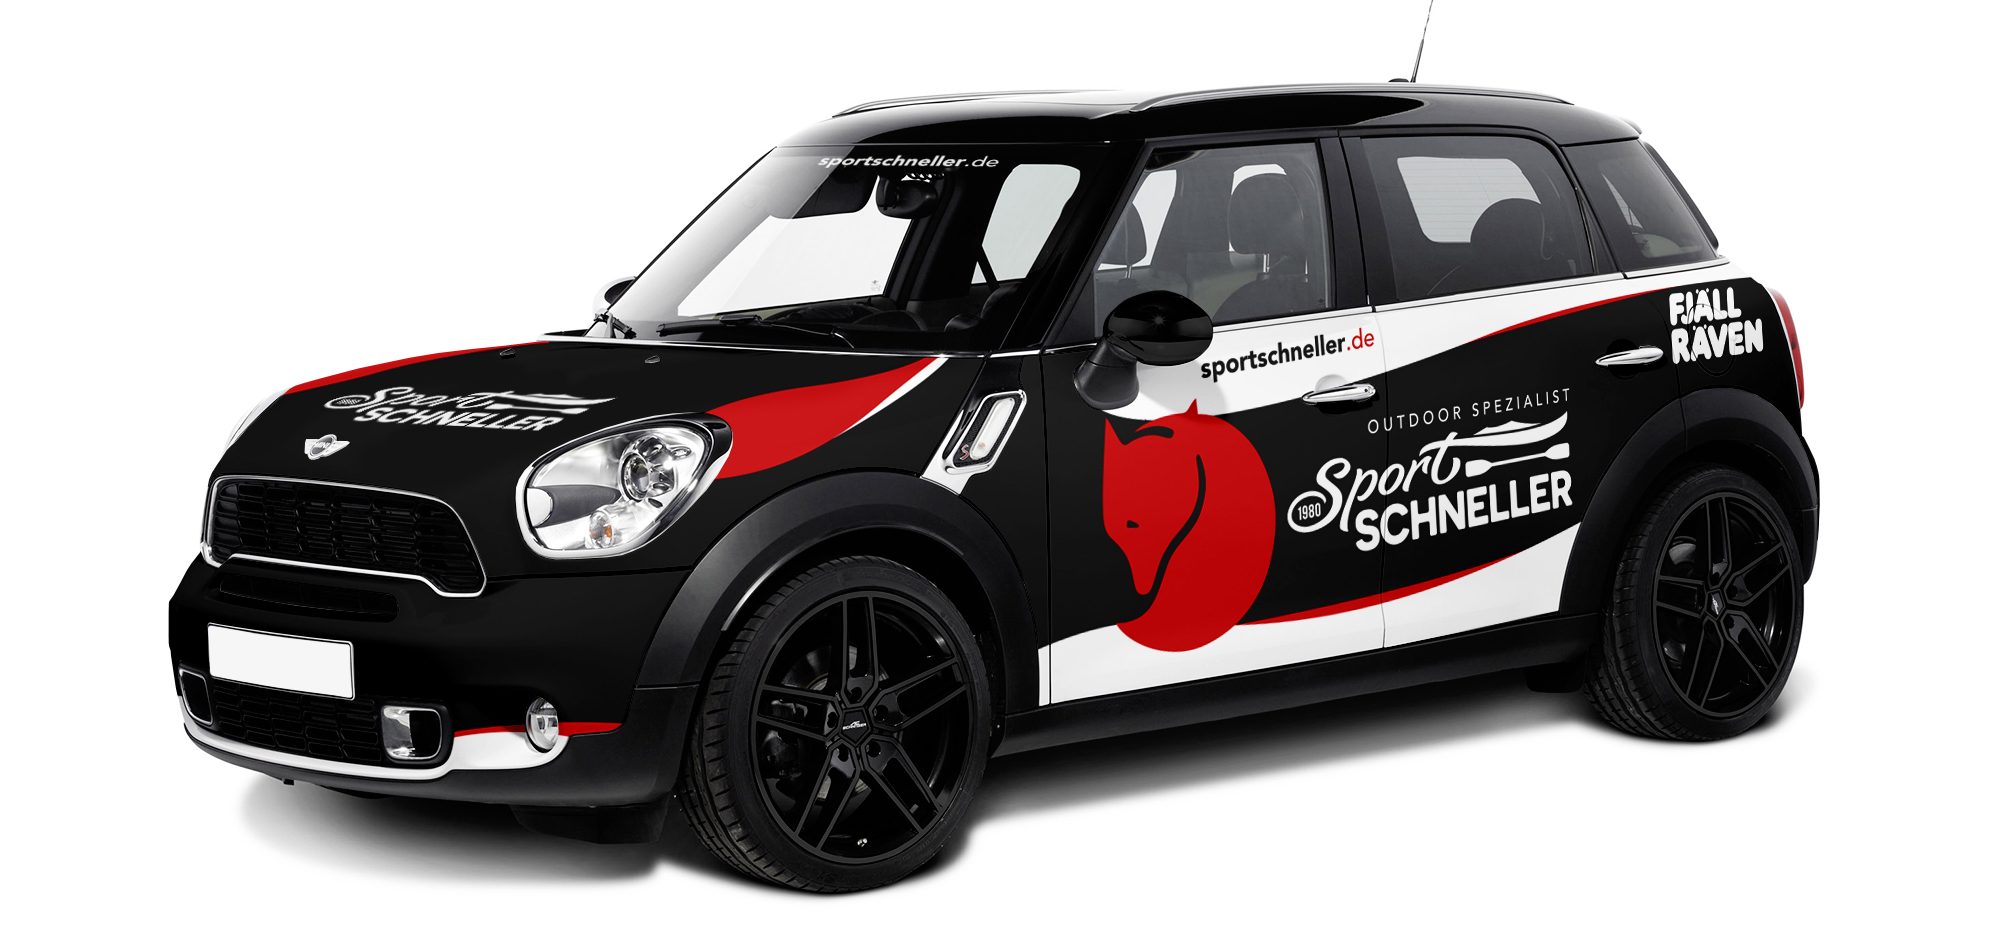
Photo on essellegi.com
A car wrap is a sizable graphic or decal made of vinyl that is laminated to protect the graphics printed on it. It is put directly over the original car paint changing its appearance temporarily. When done correctly, it can look and feel like a new coat of paint. You can always revert to the original condition of the car by removing the wrap. Other forms of car graphics include car decals and stickers. These are pieces of printed plastic, paper, vinyl or other materials with a pressure activated adhesive backing that are stuck onto the exterior or sometimes the interior of the car. An excellent example of these are bumper stickers; they are often used by individuals to personalize their bumpers and sometimes express their political or ideological causes. Insurance and vehicle registration are a good example of interior stickers. These are not water resistant like the ones used on the outside.The main difference between a decal and a sticker is that a decal has a vinyl base while a sticker has a paper one. Car graphics can be used for decorative or functional purposes like advertising.
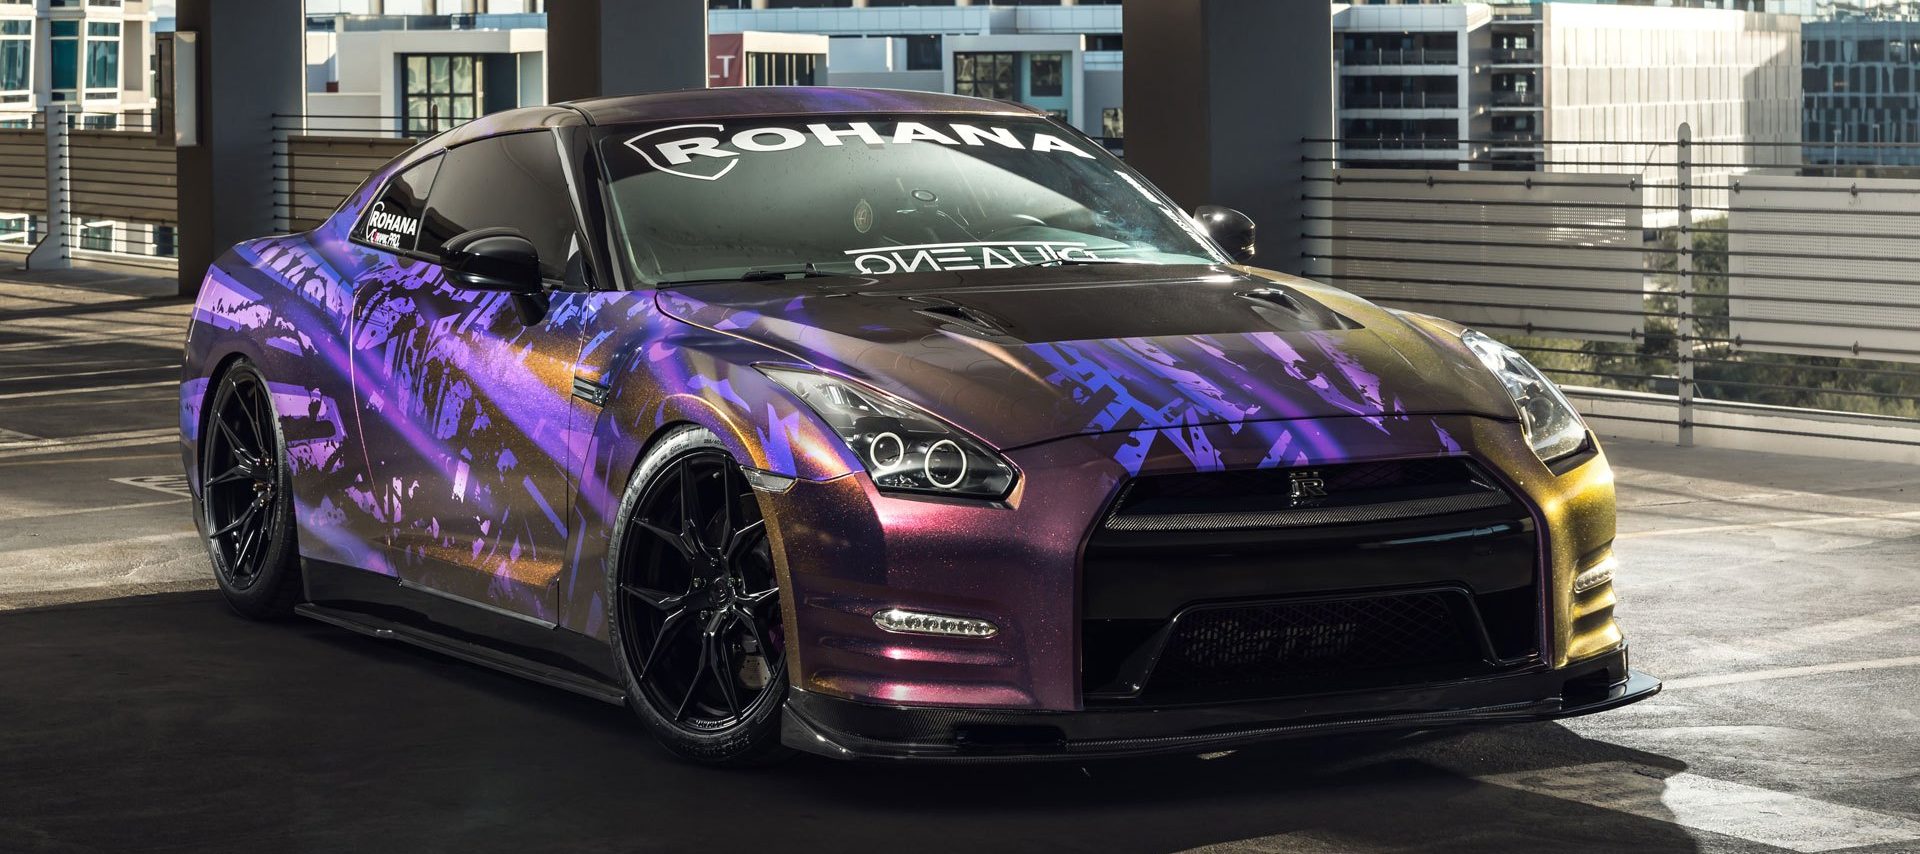
Photo on carid.com
Car vinyl wraps
- Protect the OEM paint job and are 100% removable, that you can always revert to the original car color with ease.
- It ups the resale value of your car because the paint job is in the same condition as the day the wrap was put on. Repairing wraps is also less costly.
- It is a quick process, unlike painting where the paint takes a while to cure fully.
- They offer advertising opportunities for businesses.
- Painting your car can void the warranty or lease agreement, car wraps allow you to change how the car looks without voiding either of them.
- Vinyl car wraps cost a lot less that repainting your car and they offer a lot more variety in design and style.
- They protect your car from scratches and chipping. Repairing wrap damage is as easy as replacing the damaged sheeting, unlike paint, if it is scratched or chipped, it can be expensive matching the paint color.
- You do not have to wrap the whole car. You can opt to do the hood, windows, roof only.
- They offer more versatile and durable finishes, unlike paint.
There are a few cons to car wraps:You get what you pay for if you opt for cheap wraps, you will get a less desirable finish that is not as durable as that of a quality wrap.There are legalities to using car wraps. You must inform your insurer, or if the car is leased, you must get approval from the leaser.
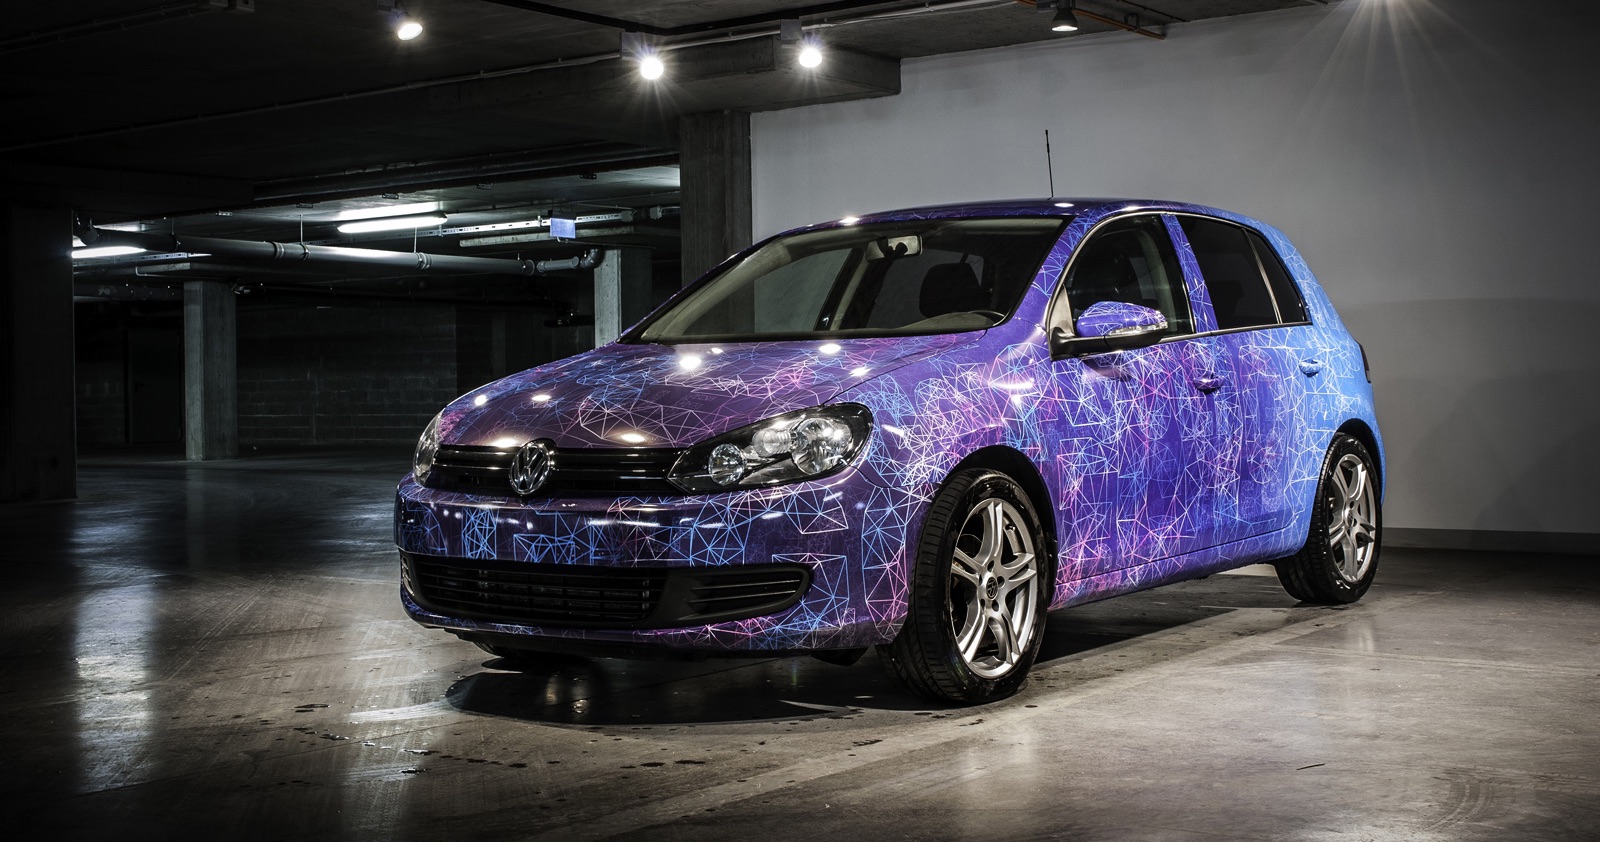
Photo on arlon.com
What is the cost of wrapping a vehicle?
The cost of wrapping your car will depend on the following factors:
- The surface area being covered – the serviceable area is grouped into three; full wrap, partial wrap or logo only.
- The type of vinyl material used – there two types; calendared and cast vinyl.
- Vehicle type – the make model and year.
- Manufacturer guarantee and warranty
- The preparation needed to apply the wrap and if a professional will apply the wrap.
Graphic wraps for business advertising are not as costly as color changing paint replacement films because of the detailing involved they are more labor and material intensive. An average graphics wrap can cost about $2500 – $5000. A partial wrap of anywhere between 40%-90% of the whole car can cost anywhere from $900 – $2700. Covering the windows alone can cost $180 – $600. Cut decals like lettering or logos can range from $300 – $600.
How long does a vehicle wrap last?
With proper maintenance and care, a car wrap can last 5 to 8 years or even 10 depending on the exposure. It is good to note that vinyl is replaceable panel to panel.
What are car wraps made of?
Automotive wrap materials
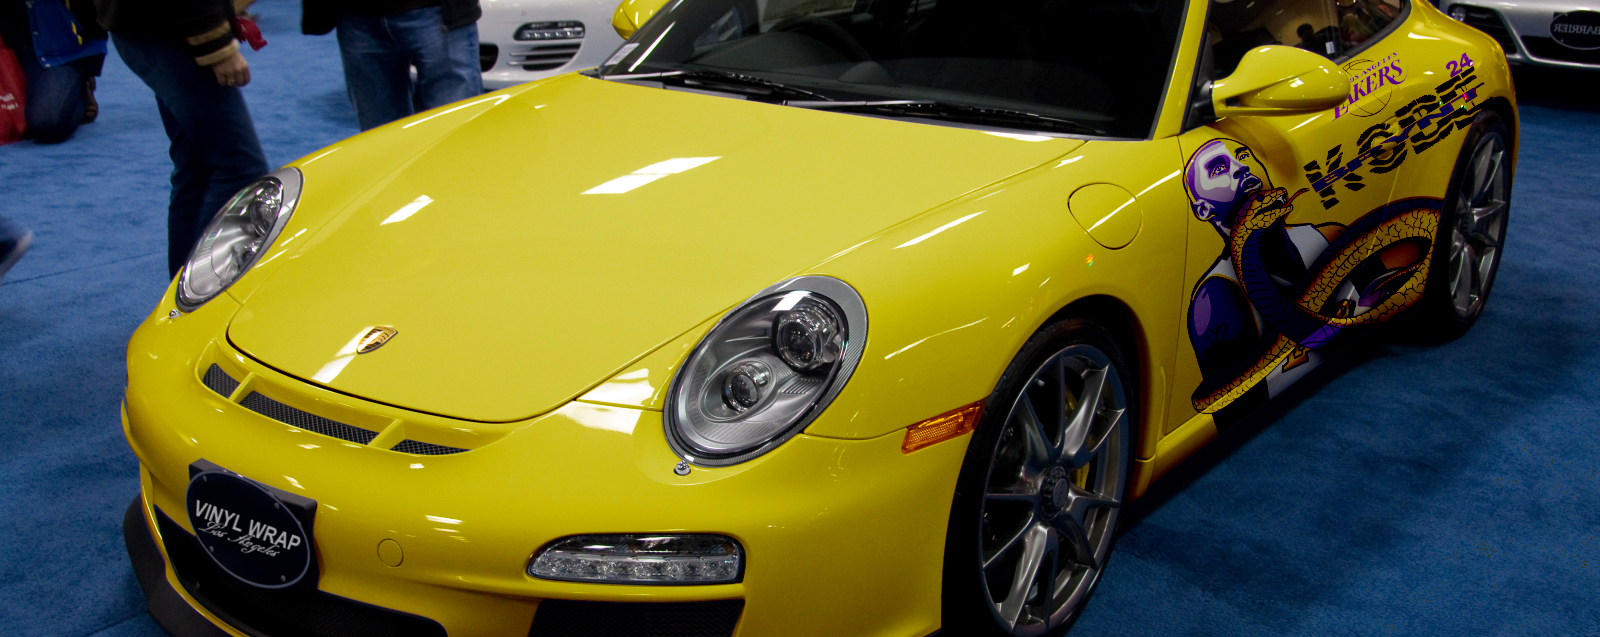
Photo on carwrapssj.com
Car wraps are made from vinyl. There are many high and low-quality vinyl makers, but there are a few recognized brands that offer the best car wrap vinyl. They are 3M, Avery, Oracal, and Arlon.You should know that just starting for instance with 3M vinyl does not mean that that particular piece of vinyl is right for your car. All manufacturers offer different vinyl quality types, from high-grade expensive cast vinyl to low performance, cheaper calendared vinyl. Materials play a vital role in a car wrap, even with the best design and installer, the wrong material will reduce the longevity of the wrap.
Vinyl types
A vehicle’s angles, curves, and other nuances, the purpose of the wrap, and your budget will determine what type is best. There are two types of vinyl used in car wraps named after their manufacturing process:
Cast vinyl
It is made from a special formula in a liquid state that is mixed, poured into a cast and passed through a series of ovens to cure it and evaporate the solvents. What remains is the vinyl to which an adhesive backing is later added. The casting process produces a more durable, flexible, conformable and dimensionally stable film that keeps its color well. This makes it ideal for car use where a smooth finish is desired.Pros:
- It is very thin
- Has a longer lifespan
- Durable
- Permeable
- Conformable
- Heat resistant
- Can handle outdoor exposure well
- Color matching is easy and cheaper.
- Easy to apply and more user-friendly due to lower shrinkage when exposed to heat.
Cons:
- It is costly
- Handling is hard due to its thinness.
Calendered vinyl
The formulation is mixed and kneaded, and once it is made, it is put through calender rolls turning in opposite directions heated at different temperatures until the vinyl film is formed. It tends to be thicker than cast vinyl and has some inherent memory, this makes it less dimensionally stable and even less conformable shrinking in the presence of heat. Pros:
- Because calendared vinyl is thicker than cast vinyl, it is somewhat more scratch resistant.
- Their weight makes them easier to handle than cast vinyl
- They are less expensive
- It has a broader range of color and styles than cast vinyl
- Short to medium shelf life
Cons:
- Short to medium shelf life
- Has a limited outdoor exposure term
- Not conformable, it the therefore ideal for use on flat, simple surfaces.
- It calls for a fair amount of skill to apply
- It tends to snap back to its original form, which can cause warping and bubbling.
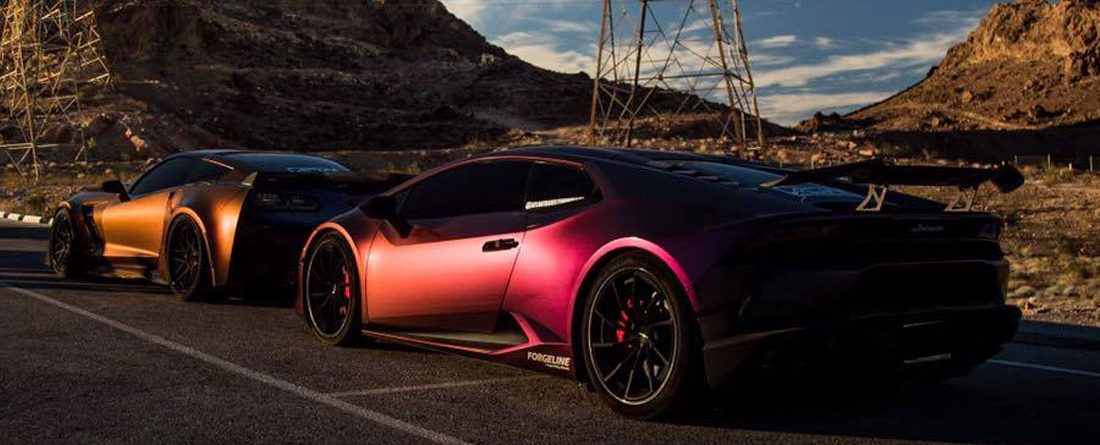
Photo on atlantacustomwraps.com
Overall cast vinyl is the most ideal for vehicle wrapping even though it is more expensive. You can use calendered vinyl for wrapping a leased car as it is more affordable.Vinyl wraps are available in a variety of finishes like matte, glossy, textured; like carbon fiber sheets, brushed, chrome and many others. Another fact you should know is that the combination of vinyl and overlaminate is important. Due to the high cost of cast laminates compared to calendered ones, most shops will use cast vinyl with a calendared laminate. While it may not be visible at first but as time passes the laminate will fade faster than the vinyl underneath. Since calendered laminate is not ideal for use on cars with curves, it will bubble and start coming off within a few months.
How to vinyl wrap a car?
Car wrap installation
When considering to wrap your car you may ask yourself where do you start? Why should you wrap your car? How much material is needed? Can you do it or should it be done by a professional? You can do it yourself by following the steps below, but if the process seems overwhelming find a good auto-detailing shop and let the professionals do it for you.
Vinyl wrap application process
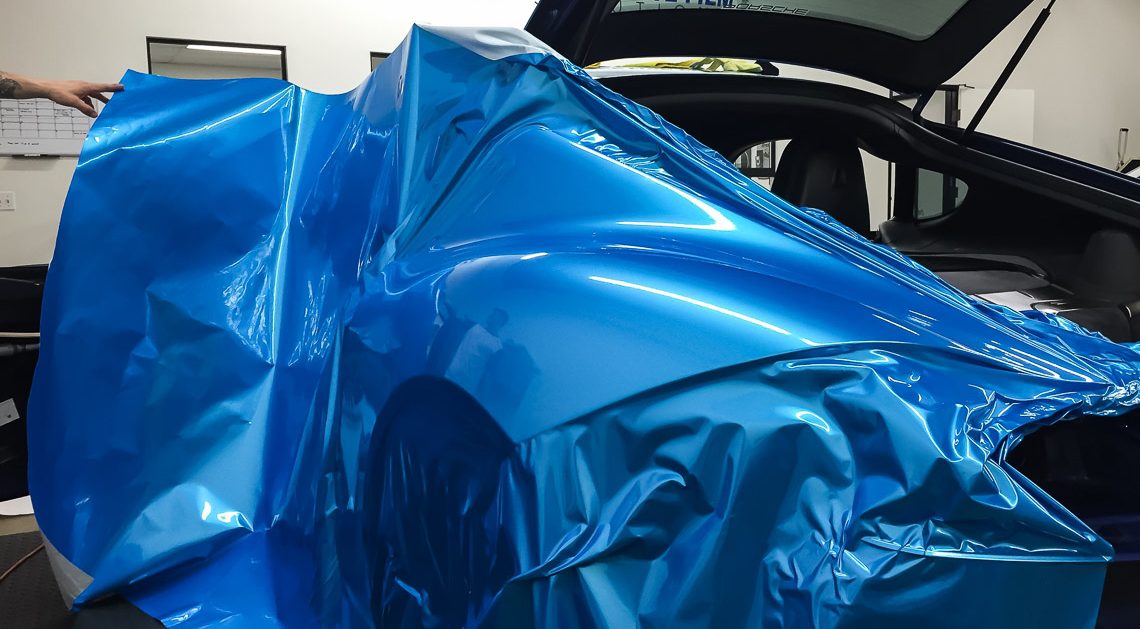
Photo on kistudios.com
Step 1:
Have a Plan
- You will need to decide on the type and quality of vinyl to use. There are a lot of brands available. Also, you should decide on whether you want color shifting, graphics or advertising material on your car? Normally a 60-inch wide and 25-feet long roll should be enough to cover your vehicle, you will still have to measure the car to see if the roll will be enough. Remember to add an extra 10% for errors and so that you have sufficient material to tuck the edges away neatly. There are a lot of finishes and color choices available
- Map out the car surface. Having selected the vinyl, you will need to inspect the surface next. It is vital to know what kind of surface you are working with. What curves will create the most tension? Are there problem areas in the paint or car body? Resolve any problems to avoid them showing up more prominently once the vinyl is applied. Mapping the surface will help in knowing where to adjust to accommodate curves or problematic areas.
- Remove any parts that might block you from applying the vinyl. These include trims, liners, moldings, handles, hood ornaments e.t.c. When in doubt, remove it. Ensure this is done before you start to avoid frustration, delay or poor installation.
- Ensure you have the right tools for the job. You will need a heat gun, squeegee, a cutting blade, cutting tape, cleaning solution, a measuring tape, gloves, and an infrared thermometer.
Step 2:
Prepare and Clean
- Ensure your working area is clean. Sweep it to ensure no dirt or debris is present before you clean the car surface.
- Clean the car surface next. The quality of the application hangs on a clean surface. Just like with paint, a clean surface will hold the wrap better and display it better. Use a degreaser to remove the crud off your car, next use isopropyl alcohol to remove the remaining fine particles and dust.
- If the surface has chips, deep scratches or other surface imperfections, you will need to do some touch-ups to the bodywork. These imperfections can be magnified by the vinyl so be sure to make the surface as perfect as possible.
Step 3:
Take the measurements and cut the vinyl
- Always add 4-6 inches to the measurements you take. Extra material can still be trimmed, but you cannot add material once it has been cut. The additional material will allow you to be able to neatly tuck the edges for a professional look. For large surfaces such as the hood or roof, you may need to use more than one piece of vinyl.
- The rolls are usually 60” wide so if the panel is close to or bigger than that you will need to have two pieces.Start with a small flat area to begin the application. If you are an amateur, get yourself comfortable with the application technique first.
Step 4:
Lay the Wrap
- Double check that the surface is absolutely clean and once you’re satisfied peel back the backing. Get someone to help you to keep the vinyl from sticking to itself.
- Start working from the middle going outward. Air is the enemy, so keep the edges lifted and the corners off the panel to prevent trapping any air in.
- Use a squeegee and apply even pressure working in the same pattern as you did with your hands, from the middle to the edges. Once you are done and satisfied with your work take a heat gun and go over the wrap. If bubbles appear, it means you have trapped air. With air release vinyl you can easily press the air out. Do not trim the vinyl until you are sure that there are no air bubbles. The extra material helps you grab and lift the vinyl to remove the air and smoothen it out.
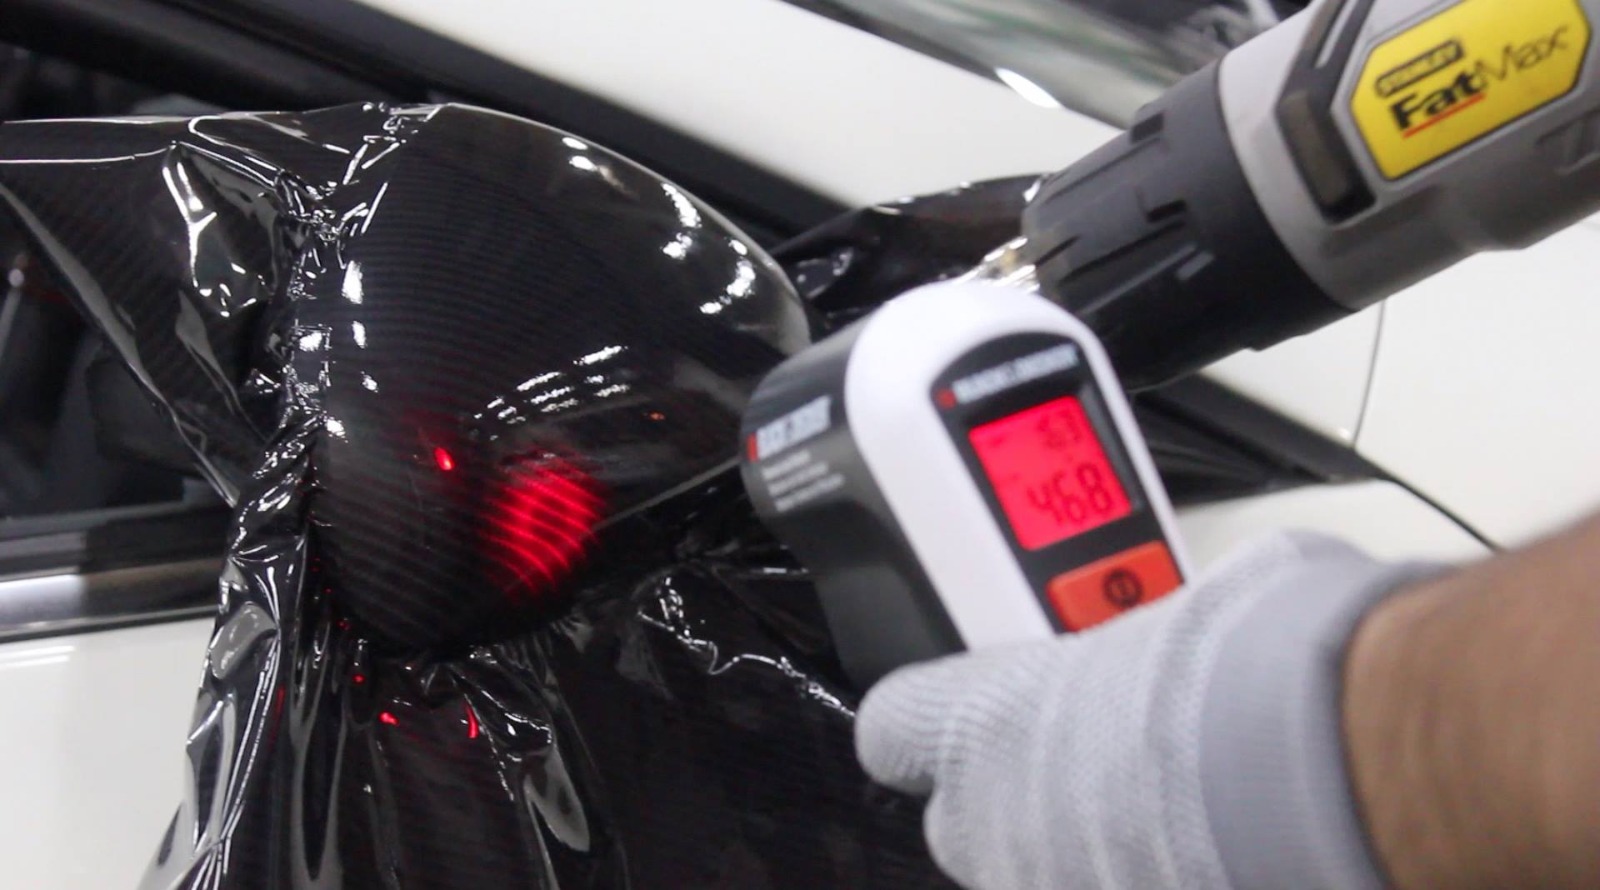
Photo on carwrapsupplier.com
Step 5:
Cut the excess vinyl off
Once the wrap is smoothly applied, you can cut off the excess material. Be careful not to damage the car while cutting the vinyl. If you damage the car, you will have to remove the wrap to fix the damage. Trim the edges and leave about ½ a centimeter of vinyl around the edges, this excess will be tucked into the corners.
Step 6:
Tuck in the edges
This can be the difference between a pro and an amateur job. Too much tension in the vinyl can cause it to tear, so use a heat gun to release some of it. Be careful not to overheat the material; you just want to soften it up a bit.
Step 7:
Apply Heat and Set
Once the wrap has been applied and tucked, it’s time to apply heat and set it in place for good. Using the heat gun apply heat evenly across the vinyl making it adhere to the car surface. If the vinyl detaches itself, you will need to reapply it as it will not hold out any better in the sun or rain. When you are sure it is strong and has set, clean the surface with some rubbing alcohol and inspect your work.
Step 8:
Enjoy your new look car
Once you are done, sit back and admire your work. Remember if the wrap was applied well it will not damage your vehicle but protect it.
How to apply a car sticker?
- Clean the area well with alcohol or soap and water, do not use a glass cleaner as it will leave a residue that might interfere with the adhesion of the sticker.
- Use a squeegee and firmly run it over the sticker to help the sticker clings to the transfer tape and remove air bubbles.
- Peel back the backing, if the sticker still sticks to the backing, repeat the step above.
- Once all the backing is removed, slowly lower the sticker and rub it into place.
- For optimal results wait at least a day before removing the tape.
After a day, peel back the tape at an angle so as not to remove the sticker. If it is still attached to the tape, repeat the step above.